
Mastering the art of handheld insect photography
Ever since I picked up a camera, I have wanted to capture the tiny world around us. Getting into insect photography meant that I could get thoroughly lost in the beauty of a walk through fields, a garden or a nature reserve. Photographing insects in their natural habitat is such a rewarding experience.
The more you disappear into insect photography, the more you notice. The slightest movement in your peripheral vision signals a possible photo opportunity.
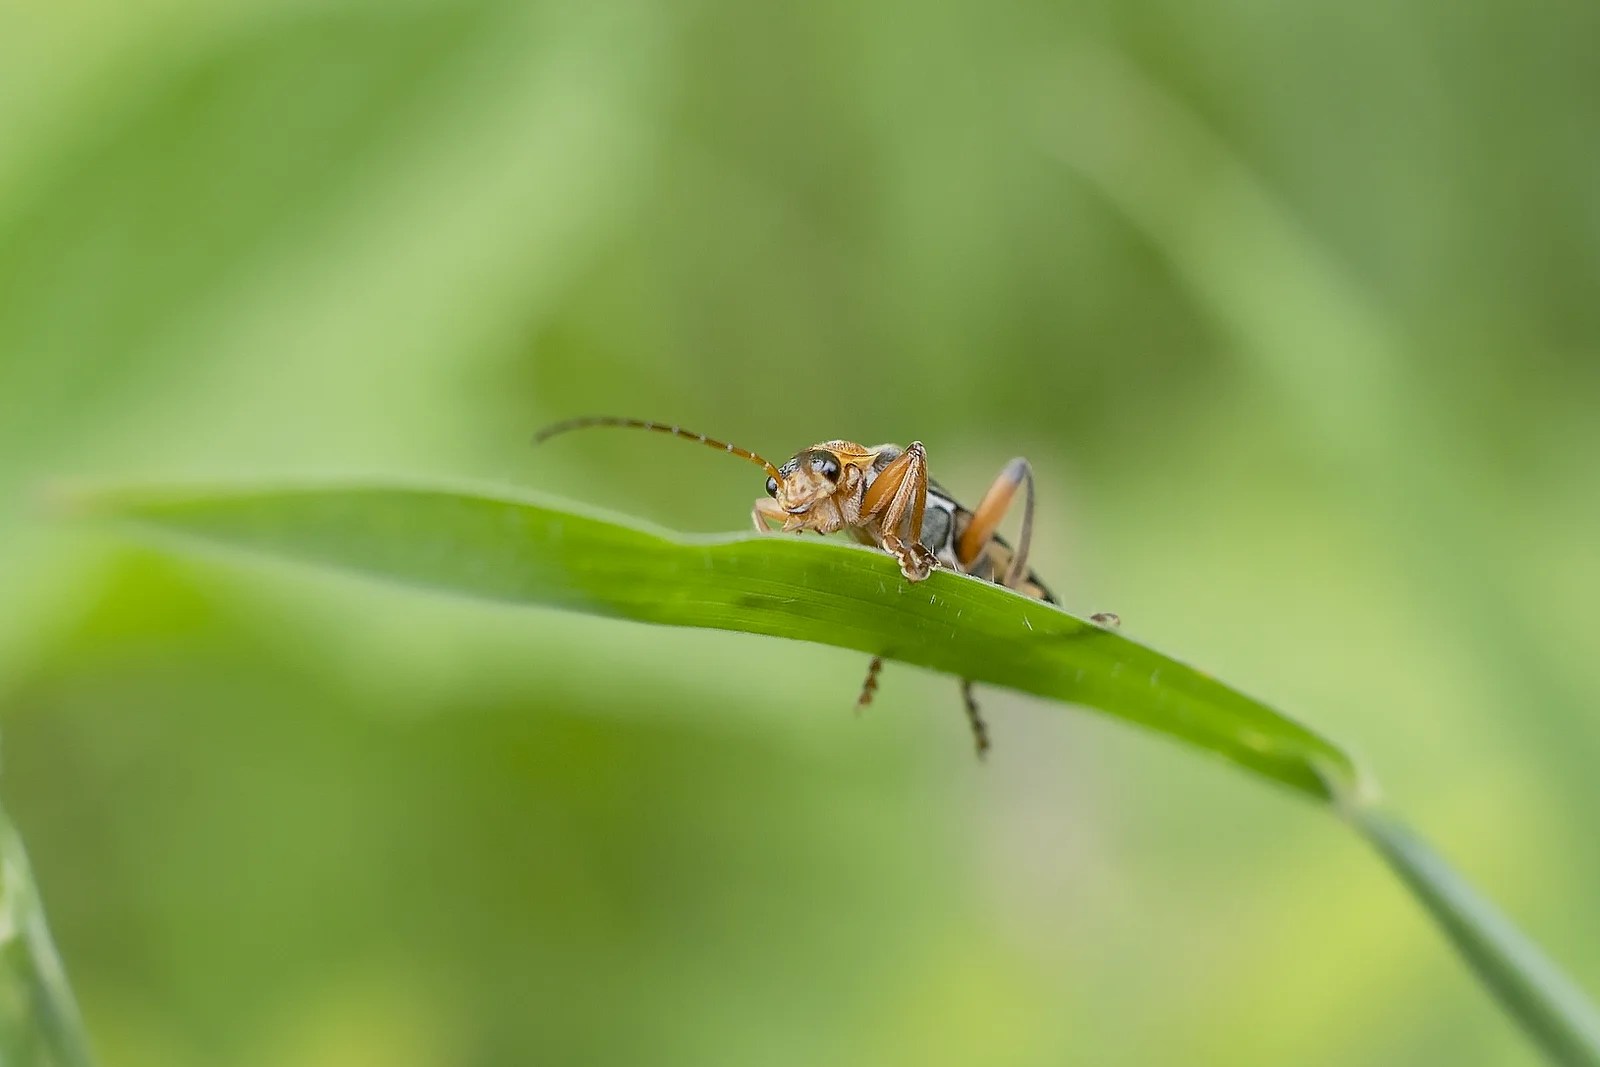
In this blog post, we will look at photographing insects in natural light and handheld. We’ll explore techniques, camera settings, and other vital information to help you capture sharp and stunning images of these fascinating creatures.
Preparation and Equipment
I started my insect photography with a Sony A37 and a 30mm macro lens. It captured some stunning photographs for me. The only downside was that I had to get quite close to my subjects to get the picture. This meant that a lot of the time, I spooked them and they flew away. Annoying, yes! But it never deterred me.
Here are a few starting points for your dive into insect photography.
Research: This is fairly important. It is not something I did, but it would definitely help you. Familiarise yourself with the insects that live around you. Find out when they mate, when they appear, where they are likely to appear and what time of day. Understanding their habits and preferred environments will increase your chances of encountering them.
Camera and Lens: If you are just starting out, I would recommend renting a DSLR or mirrorless camera with manual control options. As well as a macro lens with a focal length of 90mm to 150mm. These are perfect for sitting back at a comfortable distance while achieving a magnified view.
I now shoot with a Sony A7 III and a Sony 90mm G Master lens. The control you have over the lens’s focus is incredible.
Insect-Friendly Clothing: Oh man, this one is important. Do not go out on an insect hunt wearing bright colours. You may attract insects, but not to photograph. Wear neutral-coloured clothing to blend into the environment.
Lighting
This post is all about utilising natural light. I do a lot of my insect photography in natural light. Here are a few tips for photographing insects in natural light.
Golden Hours: The hours after sunrise and before sunset offer soft, warm, and directional light. During these times, the angle of the sun creates interesting shadows and adds depth to your images. Insects are also more likely to be resting during this time, meaning that they are easier to shoot.
Diffused Light: Overcast days provide a natural diffuser, softening the light and reducing harsh shadows. This lighting condition is especially useful for capturing delicate details without excessive contrast. Again, the lack of direct sunlight means that insects might be less active and easier to photograph.
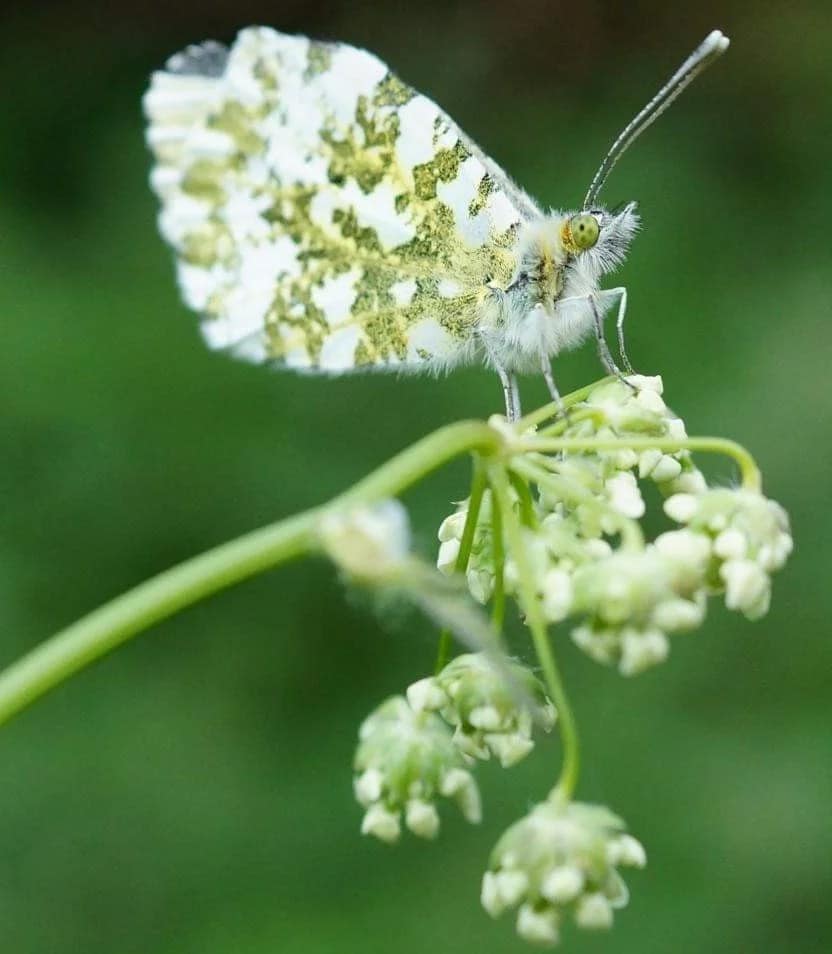
Backlighting: Experiment with backlighting to create unique effects. By positioning the insect between your camera and the light source, you can capture translucent wings, halos, and rim lighting.
Avoid Harsh Midday Sun: Direct overhead sunlight can create harsh shadows and wash out colours. If shooting during midday, seek out shaded areas or use diffusers to soften the light.
Camera Settings
Achieving sharp insect images requires careful attention to camera settings. Here are some key considerations:
Aperture: Selecting the appropriate aperture is crucial for achieving sharp focus. Choosing a small aperture (high f-number) like f/11 to f/16 increases the depth of field and ensures more of the subject is in focus. Choosing a large aperture (low f-number) like f2.8 can help the insect stand out from its background while creating a beautiful bokeh effect.
Shutter Speed: Insects are often in constant motion, making a fast shutter speed essential to freeze their movement and capture sharp details. Aim for a minimum shutter speed of 1/250th of a second or faster. Increase the shutter speed as necessary to compensate for faster-moving insects.
ISO: We want to maintain as much image quality as possible. This means that it is best to start with a low ISO setting, such as 100 or 200, and increase it gradually if needed to maintain a fast enough shutter speed.
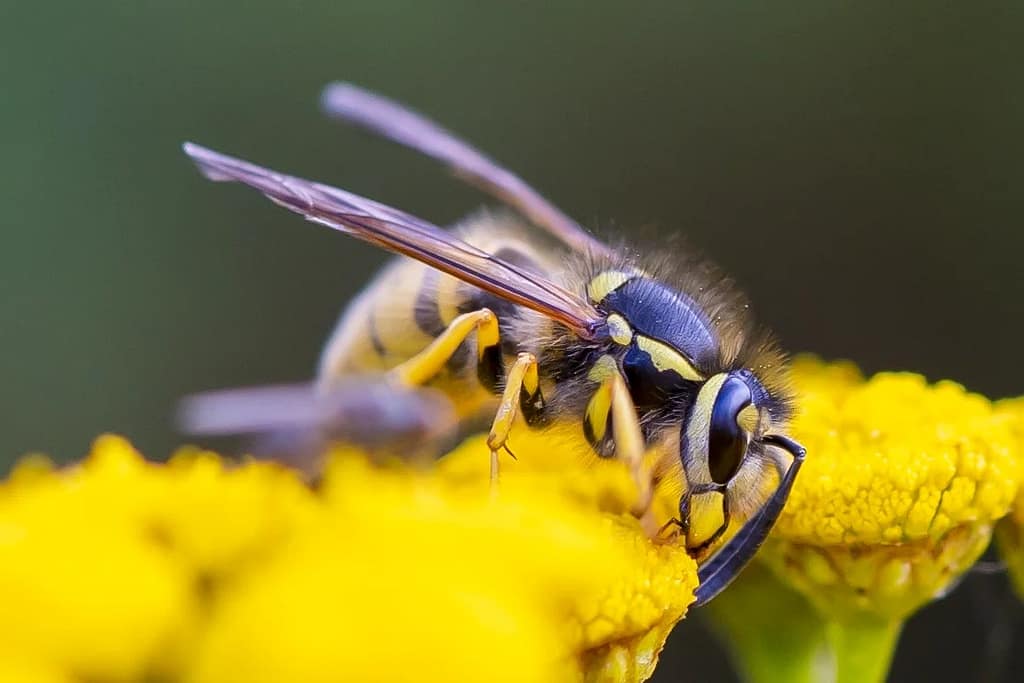
Autofocus and Focus Modes: Single-point autofocus helps ensure the part of the image you want sharp stays sharp. You can manually select a point, such as the eyes, to focus on. Alternatively, consider using manual focus for greater control over focus accuracy. I sometimes use continuous focus if the insect is one that rarely stays still. This means that I can keep it in focus as I shoot.
Burst Mode: Insects can be quite elusive. You might want to try your camera’s burst mode to capture those quick movements while keeping them sharp.
Back button focus: Usually, you press the shutter halfway to focus the image. Pressing it all the way takes the picture. Well, the back button focus gives the focus to another button. It can help ensure that the camera’s autofocus doesn’t change your focus choices every time you press the shutter. It also means that you can have the benefits of continuous focus and single focus in one go.
Composition
Composition can make or break a photograph. The way the viewer sees the image and how their eyes move over it is important.
Rule of Thirds: Using the rule of thirds can help draw your viewer’s eye. Place the insect off-centre to create a captivating image.
Depth and Perspective: Avoid shooting the insect from above. This does not create an interesting photograph. You want to either get below the insect or eye level with it. This immerses you and your viewers into the insect’s world. Creating a different perspective of the insect than is usually seen.
Conclusion
Handheld photography of something so small can be hard. Add on doing it in natural light, and you have an interesting learning curve. It not only requires an understanding of your equipment, but also patience and an artistic eye. The insect world is full of wonders that go unseen by most. So, be patient and settle in. Try not to disturb their world too much, and most of all, have fun. Expect a nettle or two, and possibly a sting/bite or three.
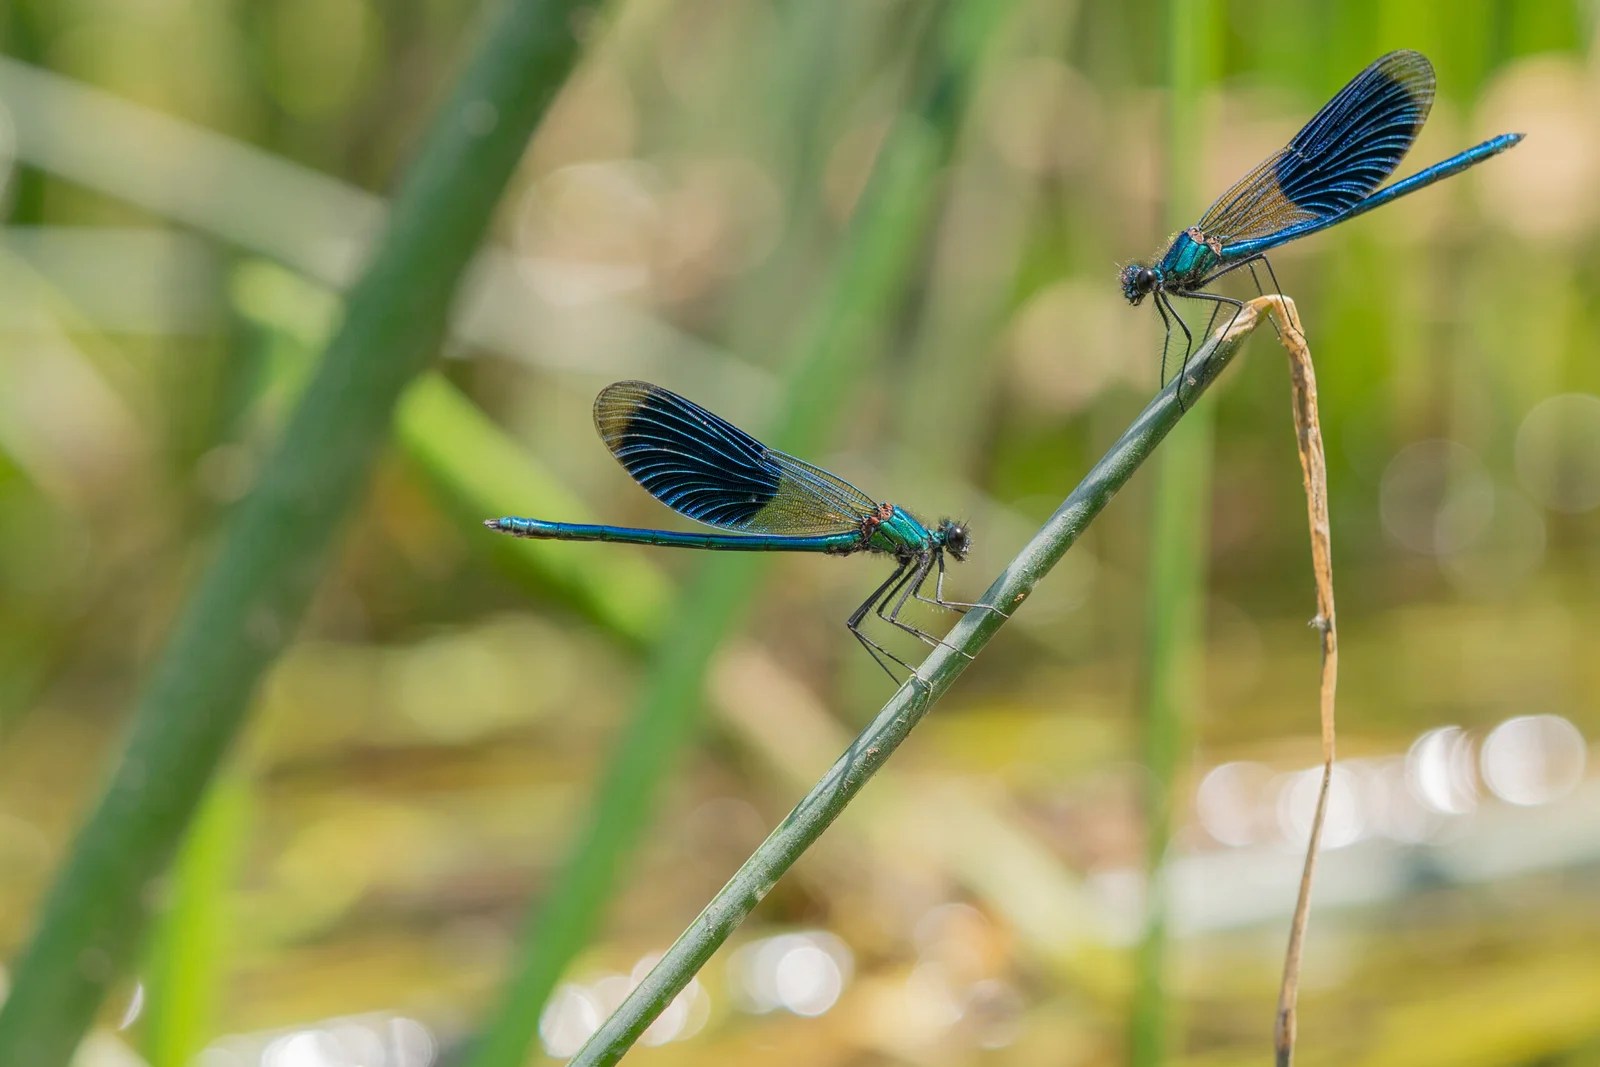
Why not check out my other post on insect mating?