Grasshoppers!!! Oh boy, can they be tricky to photograph? One hop and they could be more than two feet away, hidden in the tall grass, laughing at you. I don’t know, maybe I just spend too much time around insects.
This grasshopper happily let me photograph it. It could have hopped away at any time, but it didn’t. This made me happy.
Injured Grasshoppers
The grasshopper below can not hop away whenever it pleases. It can not communicate with other grasshoppers either.
As you can see from the first picture, it is missing its hind legs. These are what a grasshopper uses to jump and to communicate. A grass trimmer was most likely the cause of the injuries, as the grass appeared to have been cut recently.
This little grasshopper was very docile and, as you can see, sat quite happily in my husband’s hand, occasionally wandering around. I never usually interfere with nature when I take photographs; I don’t move them to a more photogenic environment or pose them. However, in this case, we put the grasshopper with some other grasshoppers, in the hope that it would find a way to survive.
The casualties of neatness
The grasshopper below was in a lot worse condition than our little friend above.
You can see where its leg has been torn off. When my husband picked them up, they were so docile and didn’t move. Again, we found a spot near other grasshoppers that was hidden away from predators.
I see no reason why, if we can help, we should not. A lot of the time, it is we humans who have caused the damage. True, I look back and wonder if maybe they would have been better off being put out of their misery, as it were. However, I can look back on that day, knowing that we at least tried to help.
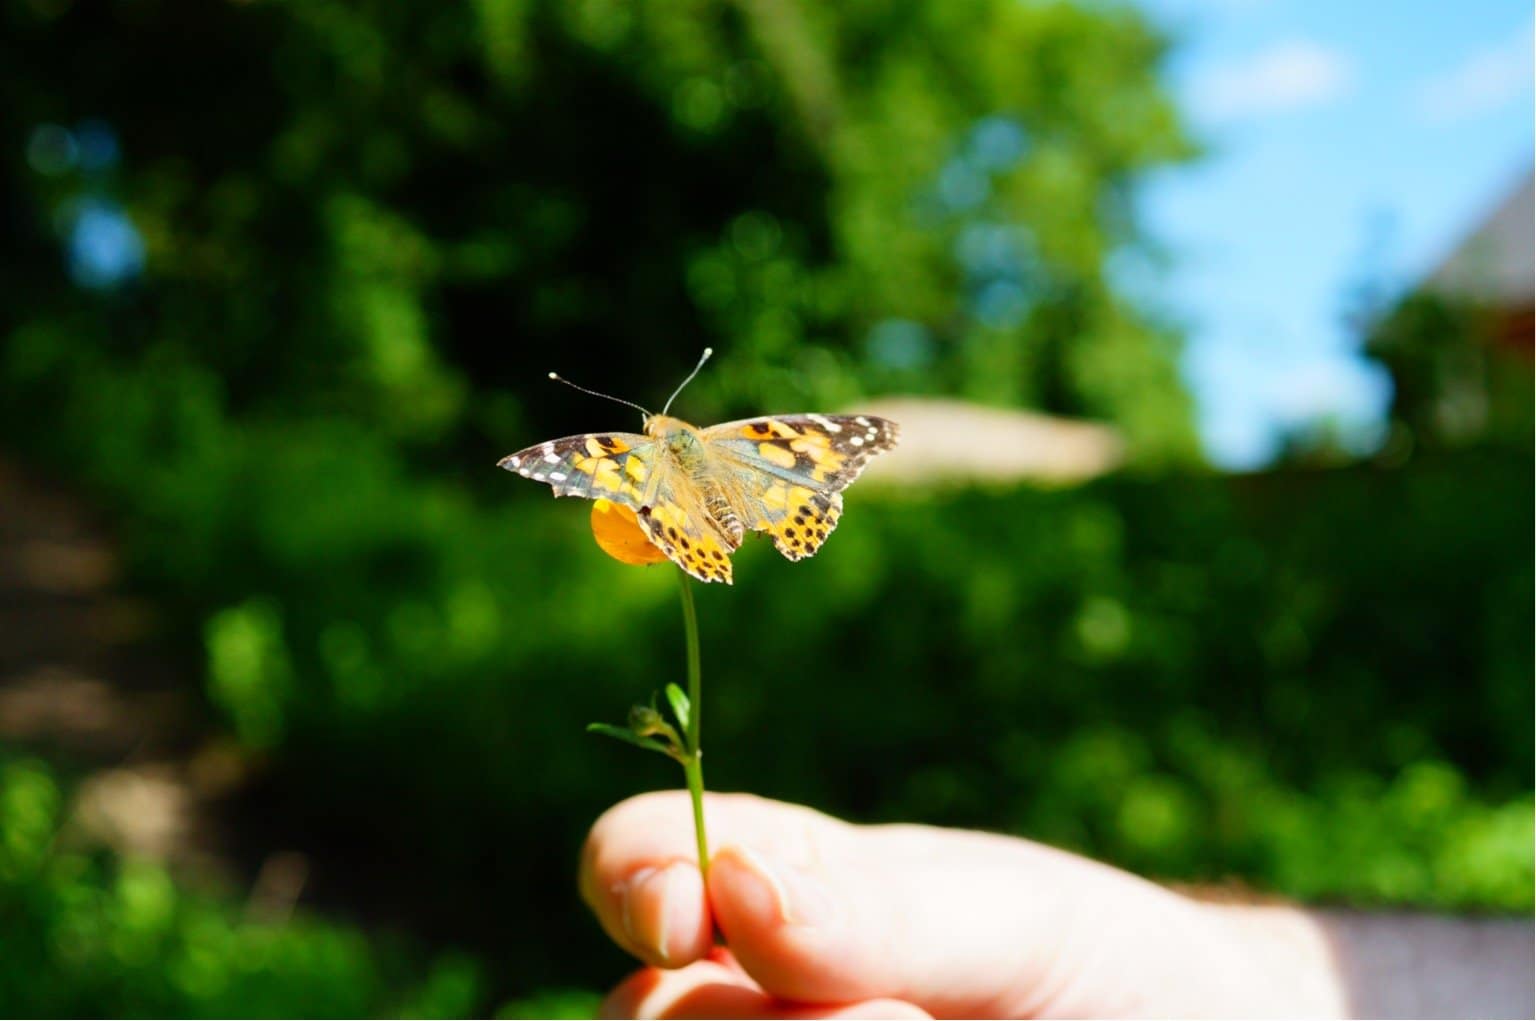
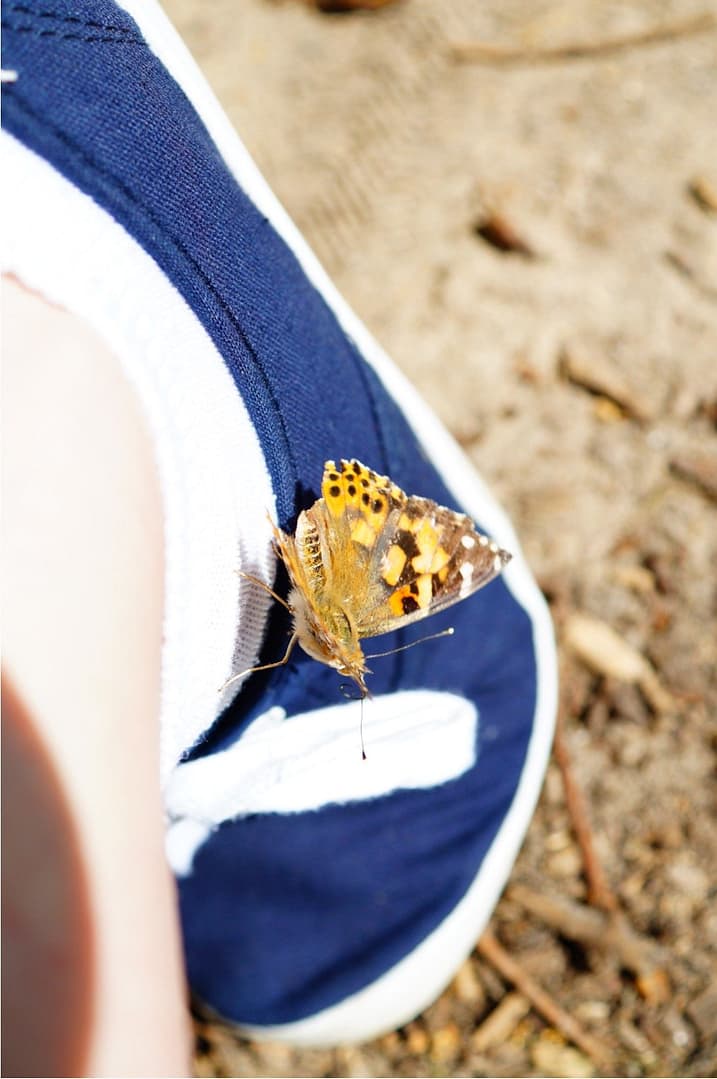
Butterflies are so much fun to photograph, and it is wonderful when you find one that you haven’t photographed before. The painted lady butterfly in this post was the first we had encountered. It seemed very tame. It landed on my partner’s hand and a flower that he was holding.
in a world of its own
This butterfly was so tranquil and graceful in its movements. It did not flutter in haste and flower-hop, as I would usually see others doing. It seemed as if it were in a world of its own. Reminiscent of my own moments of introspection. Undisturbed by our presence, we watched as it danced whimsically in the sun. Then, without warning, it landed on my shoe.
This landing did not last long. Once the realisation dawned that there was no food, the butterfly soon went on its way.
Food for thought
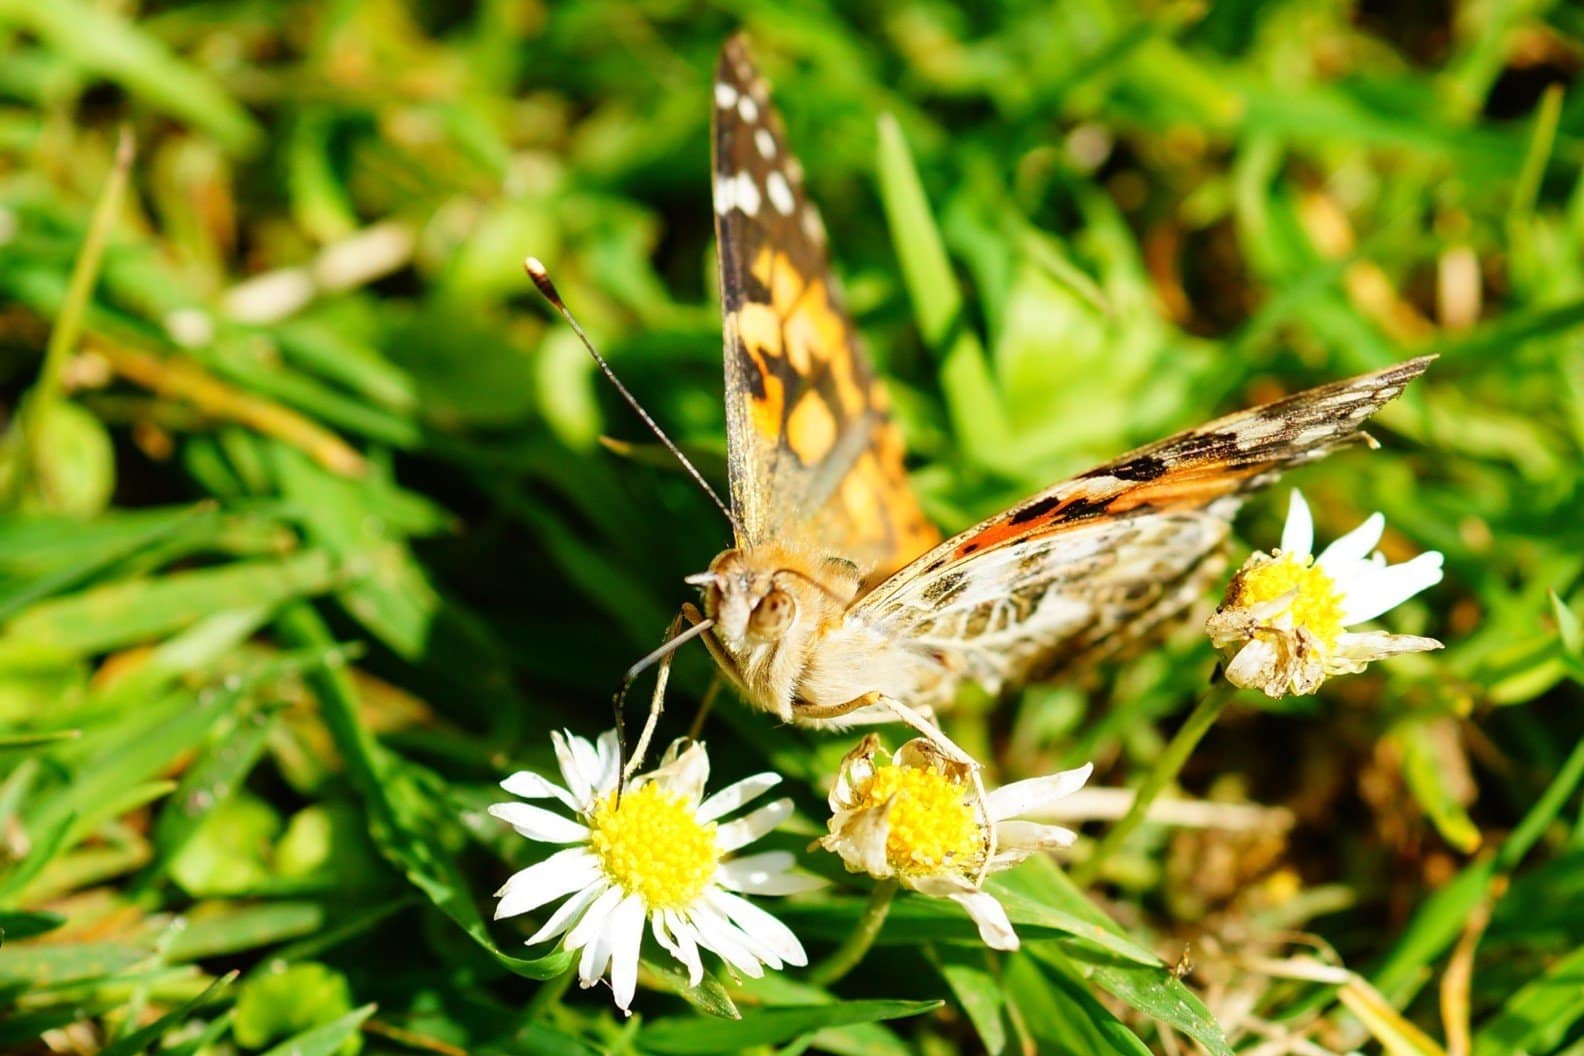
You know you have spent far too much time around insects when you start narrating their thoughts. Take our little painted lady butterfly friend here. It is simply using its proboscis to feed. However, the way that the image is shot makes it appear that the butterfly is either intrigued by us or confused by us.
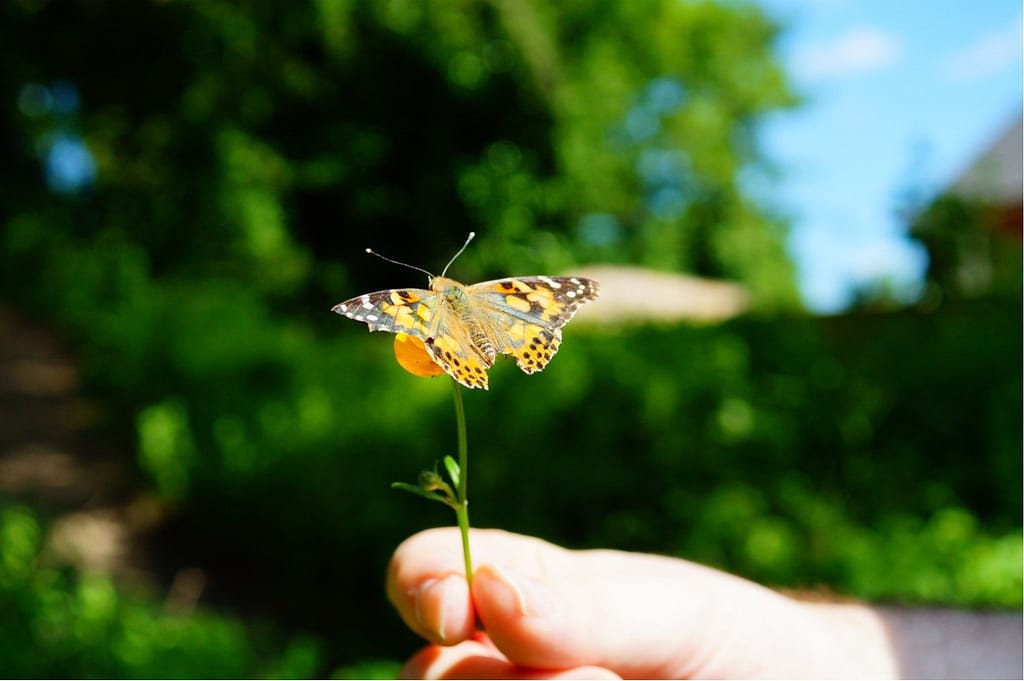
Holding out his hand for the butterfly to climb on willingly did not go well. My partner’s sudden attempt to pull out the daisy probably did not help. So he changed his game plan; he became, so to speak, the flower.
Interfering
I don’t enjoy staging my insect photography. I like them to be as natural as possible. There are, however, times when I must infringe on their world in order to capture their beauty and grace. Usually, this is by holding out a flower to entice them.
And we get to my favourite of the day. Capturing this image pleased and honoured me. The simple fact that it chose to trust us.
Witnessing insects mating is an extraordinary experience. One that allows me to appreciate the intricate wonders of nature. It serves as a reminder of the hidden marvels that exist in our surroundings, often overlooked in our fast-paced lives. There is something quite amazing when you have the patience to witness some of nature’s smallest creations living their lives.
It is always best to get down to their level and photograph them straight on, rather than from above. This gets you into their world.
ladybird mating
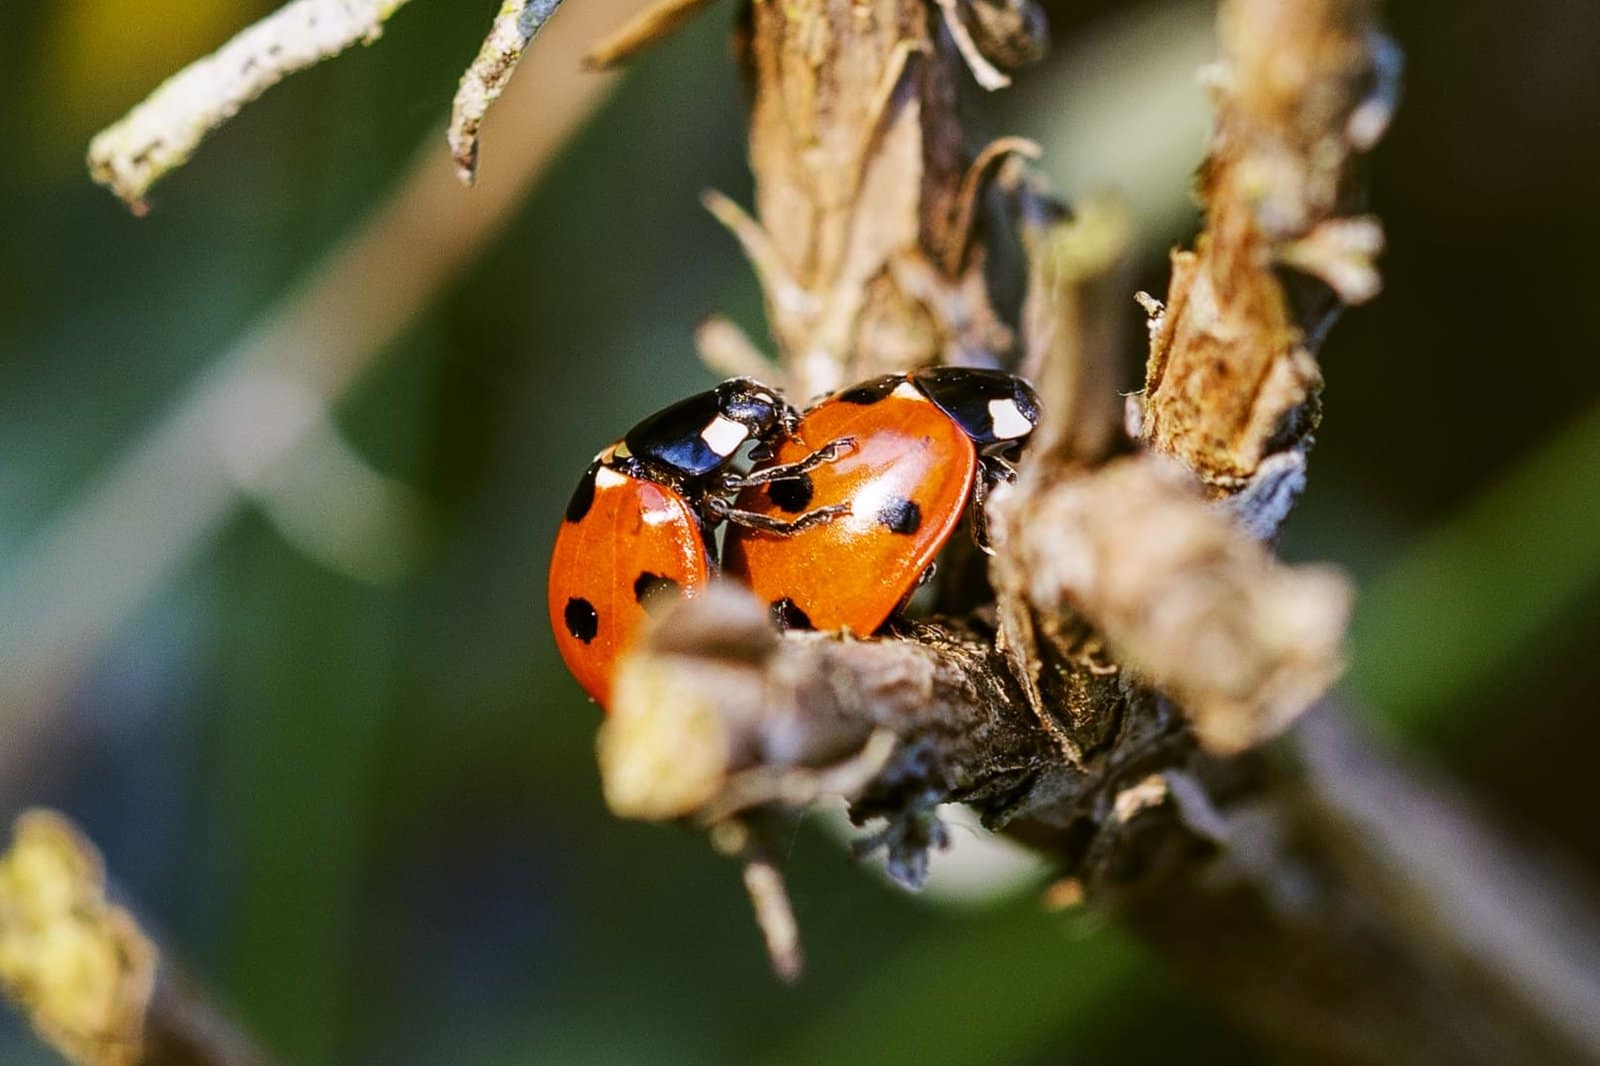
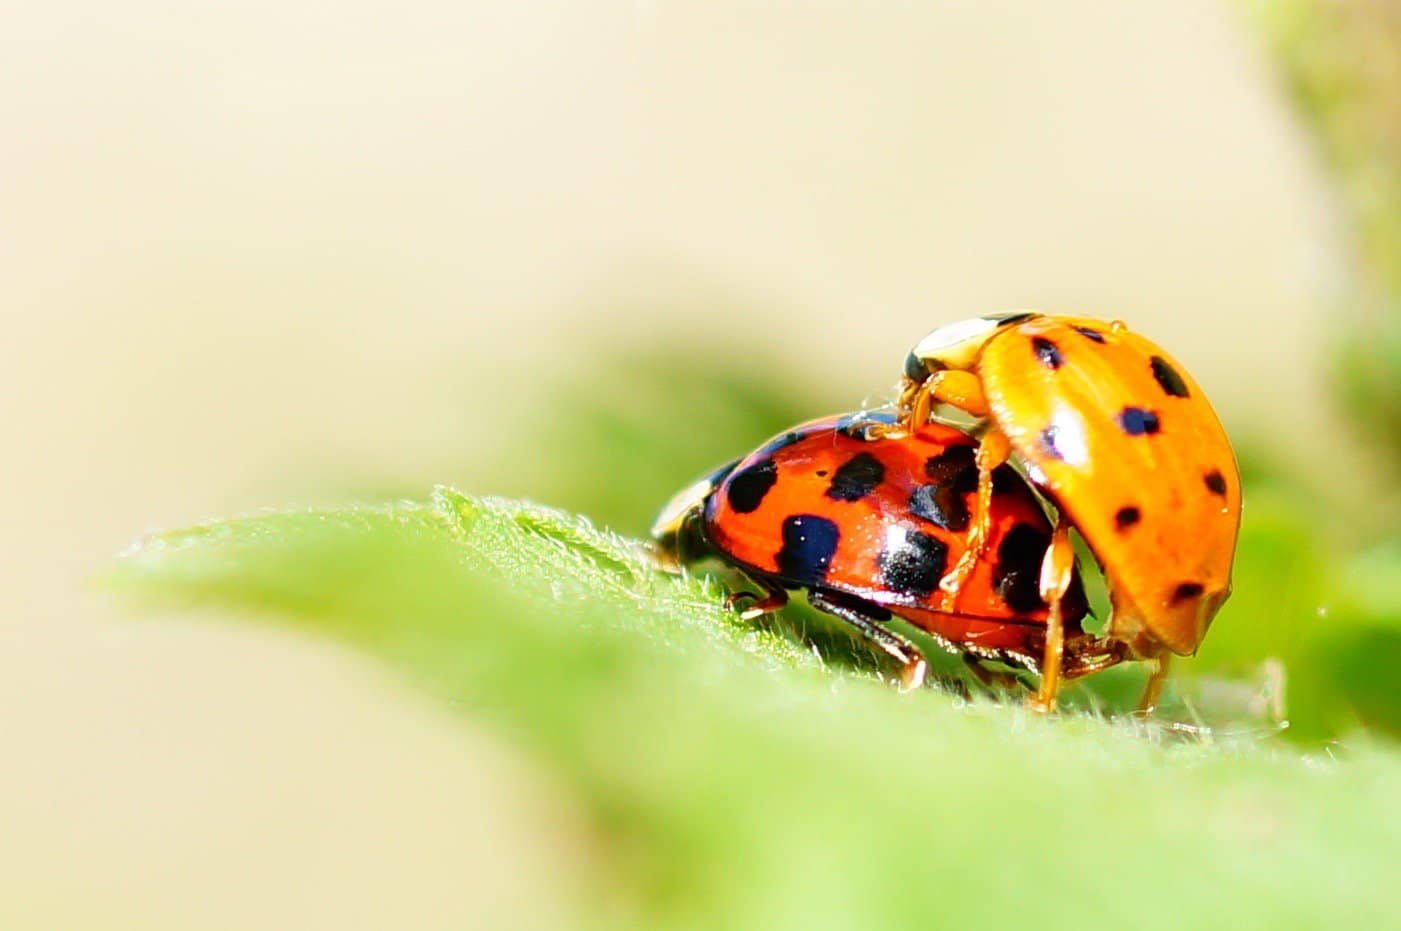
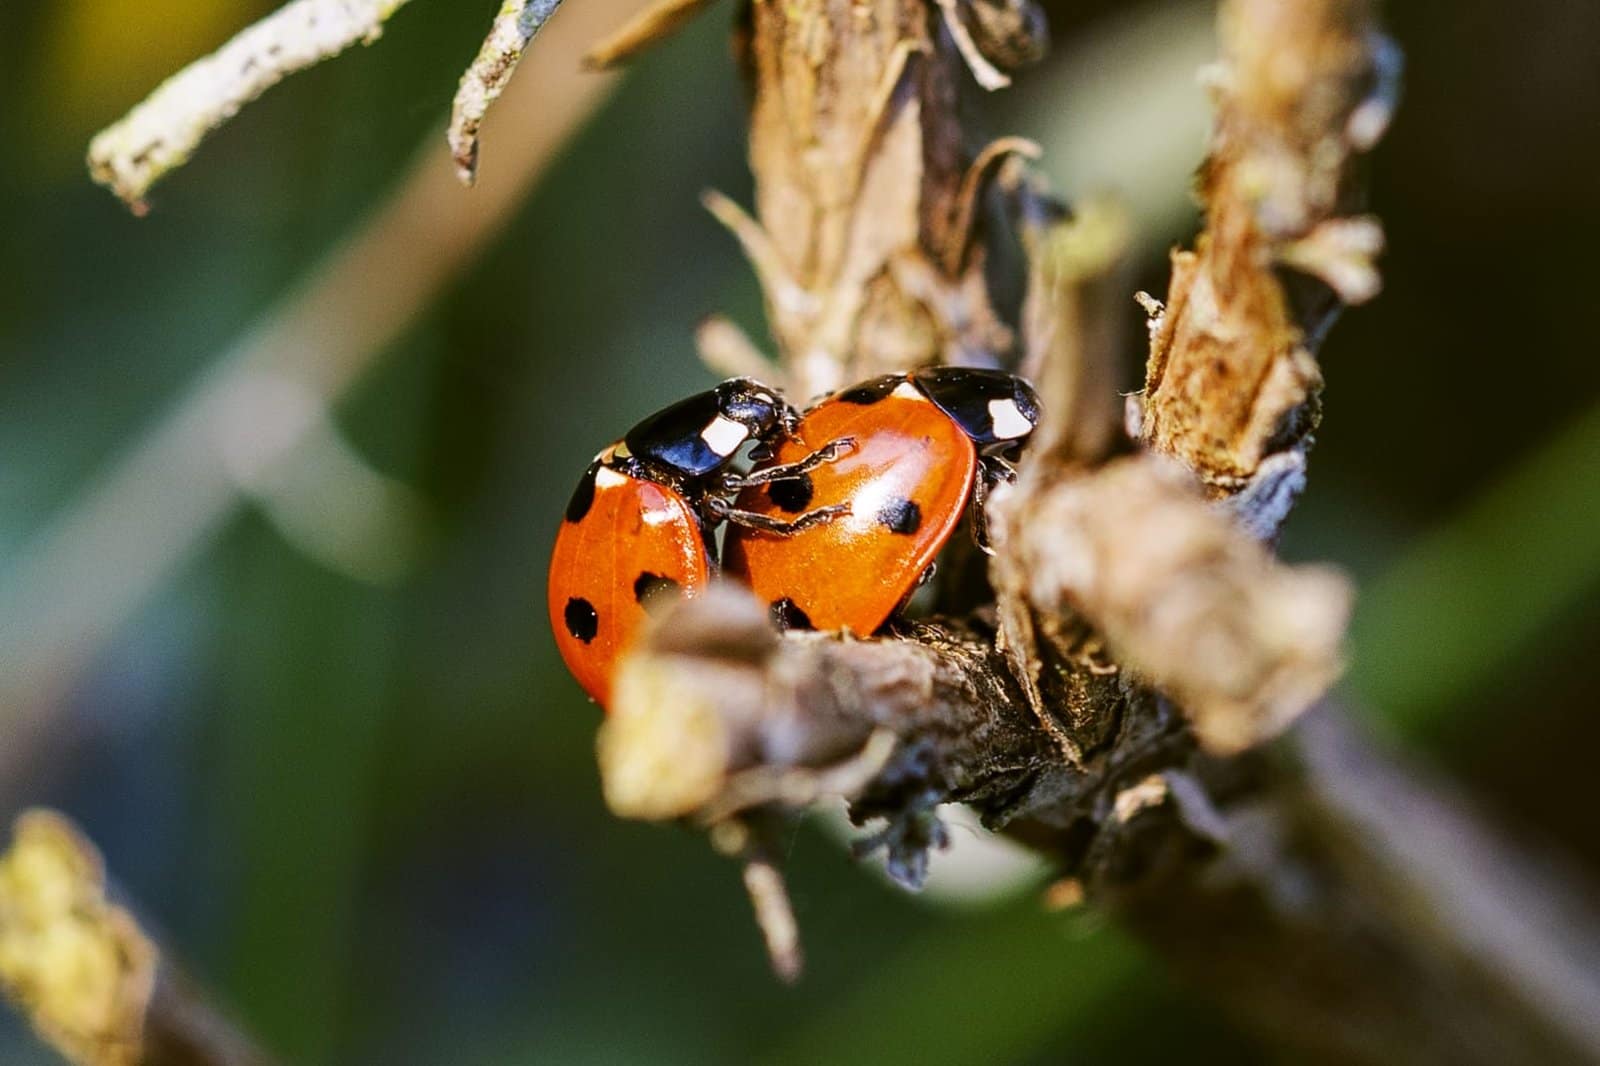
Ladybird mating is interesting. The male can stay on the female for several hours. This is not because mating lasts that long. It is to ensure his genes get passed on. Ladybirds, in general, are easy to photograph; they don’t move too far or too fast. At least not when I have attempted to photograph them. They tend not to move at all when mating. Making this the perfect time to capture some interesting shots.
Having done some research, it appears that there are times when a male will, in fact, accidentally mount another male, awkward, but they simply scurry away.
One of my favourite photographs I captured was of two ladybirds mating, with a third on a leaf above, just casually watching. It stayed for quite some time, occasionally walking around, but mostly peering over the leaf. I assumed it was a male waiting to see if he could get in on the action.
One thing I did not realise until I started getting into insect photography was that ladybirds have a little head underneath the shell. That section that looks like it has eyes on it is, in fact, not their head.
insects mating
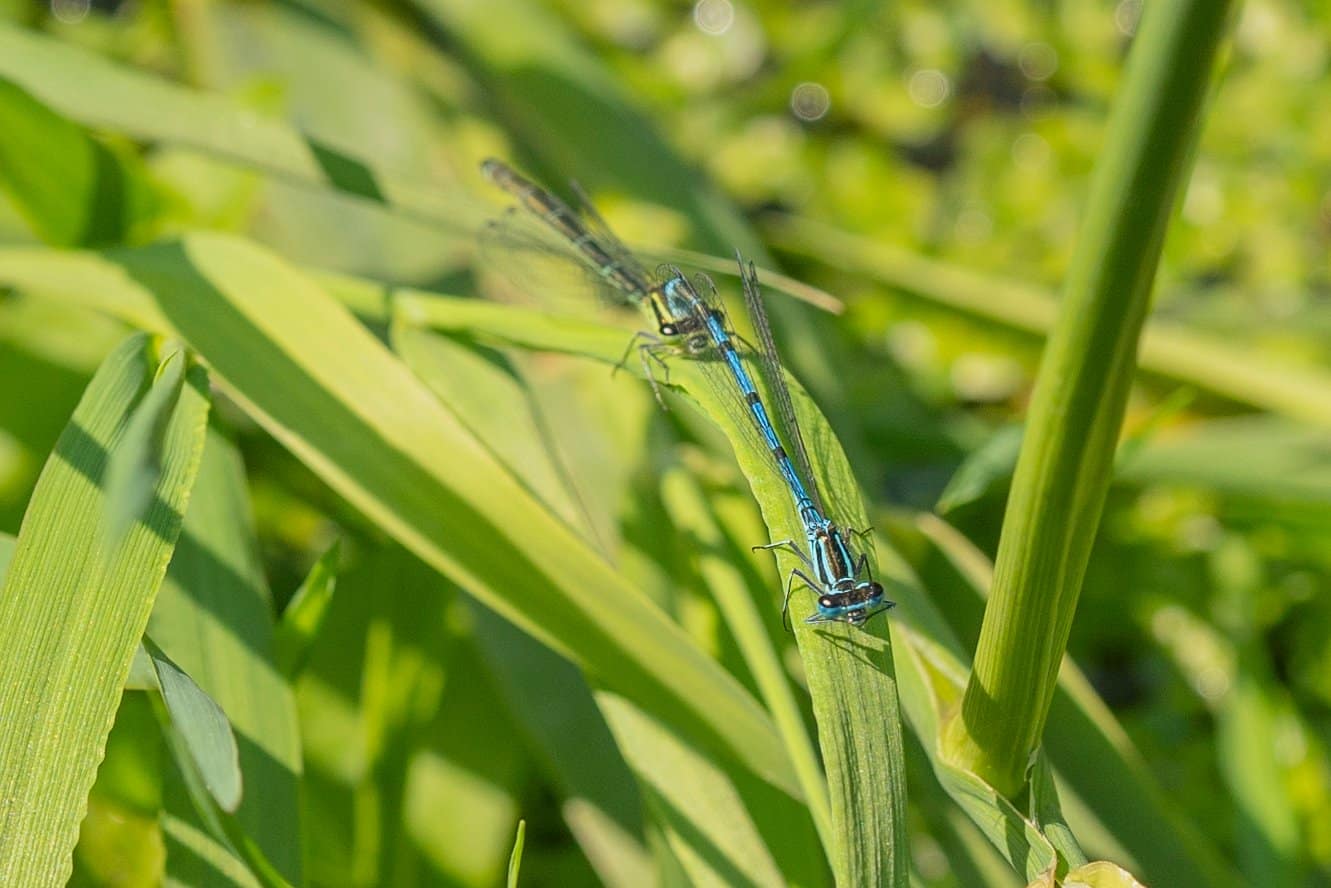
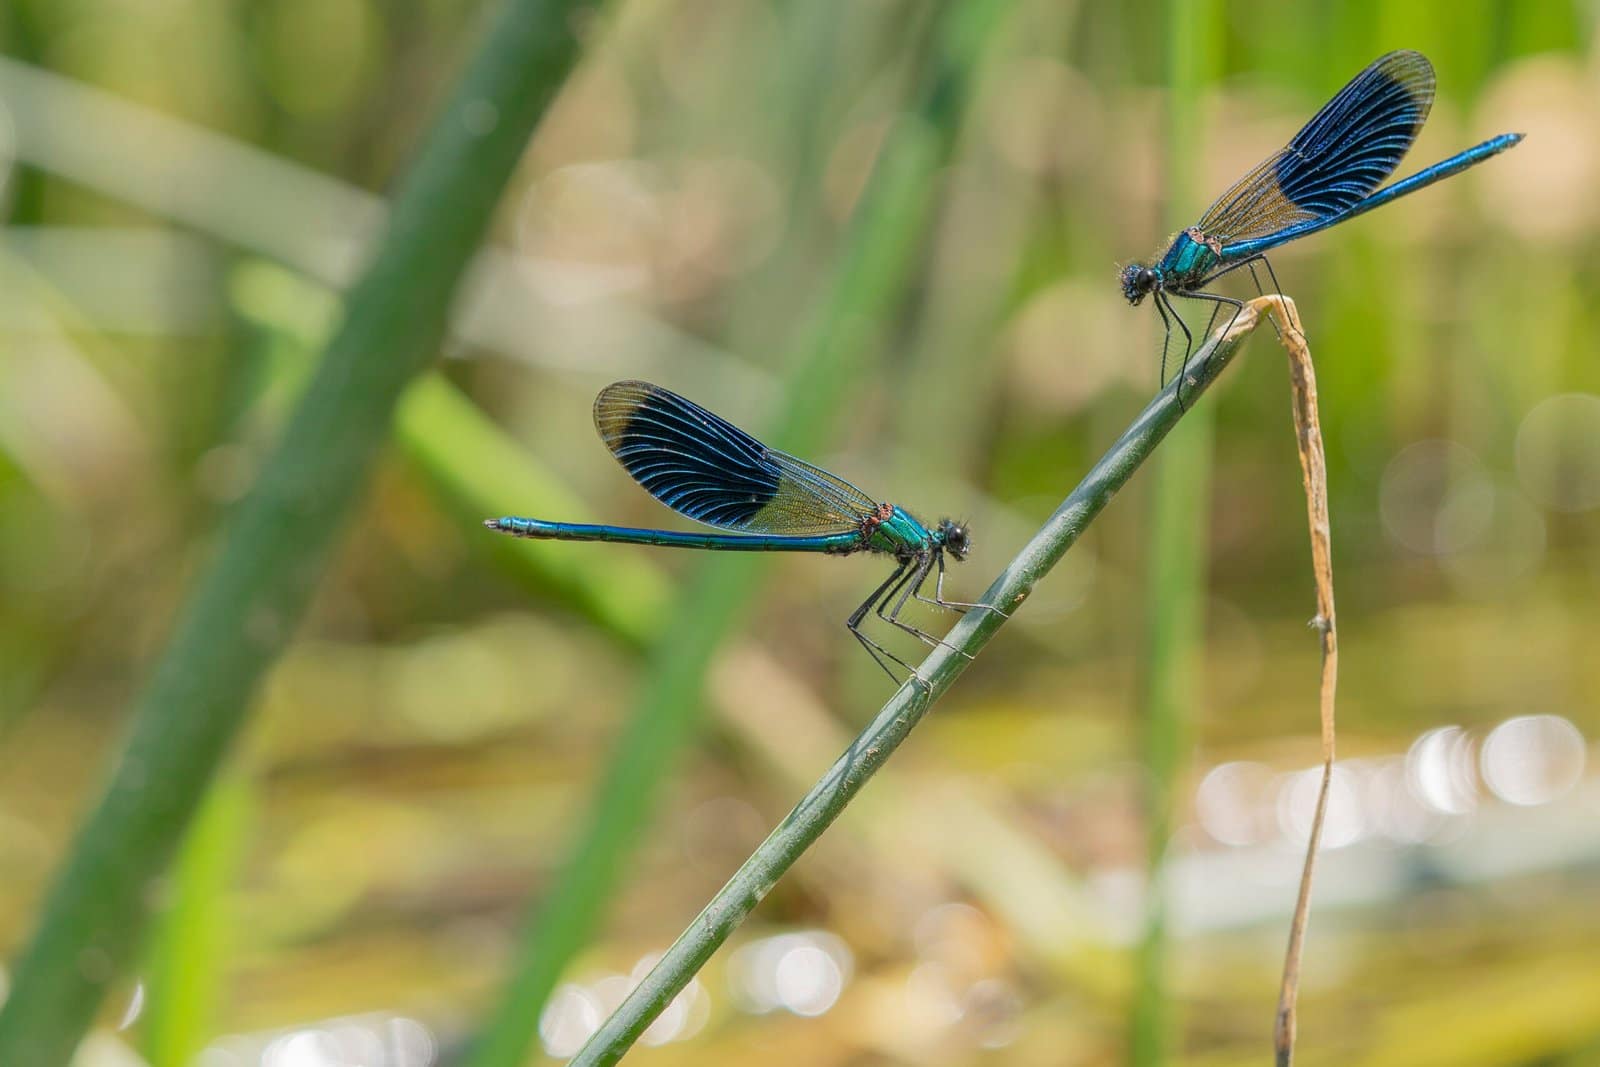
Damselflies are one of the hardest insects I’ve found to photograph while mating. They don’t stay still. As soon as they’re spooked, they’re gone. This is one of the first times I have managed to capture them mating.
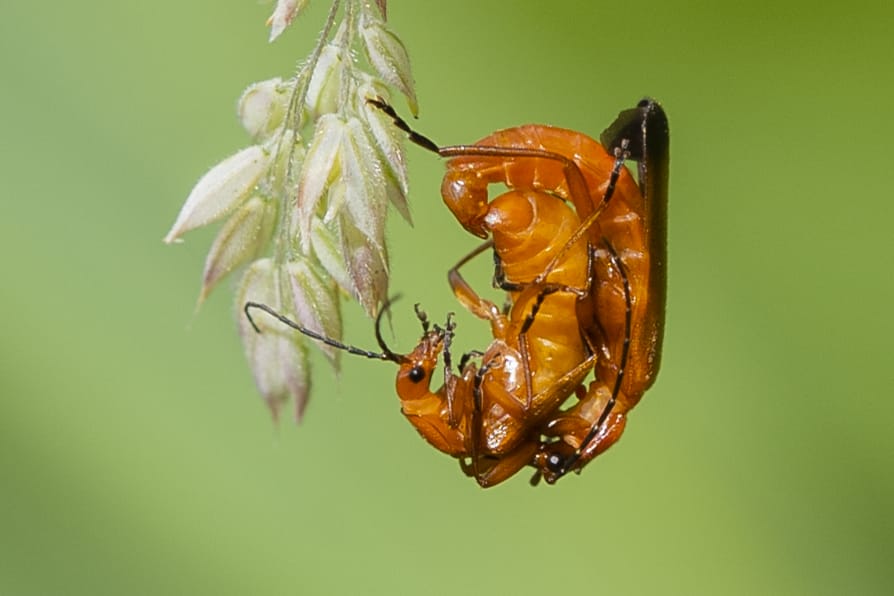
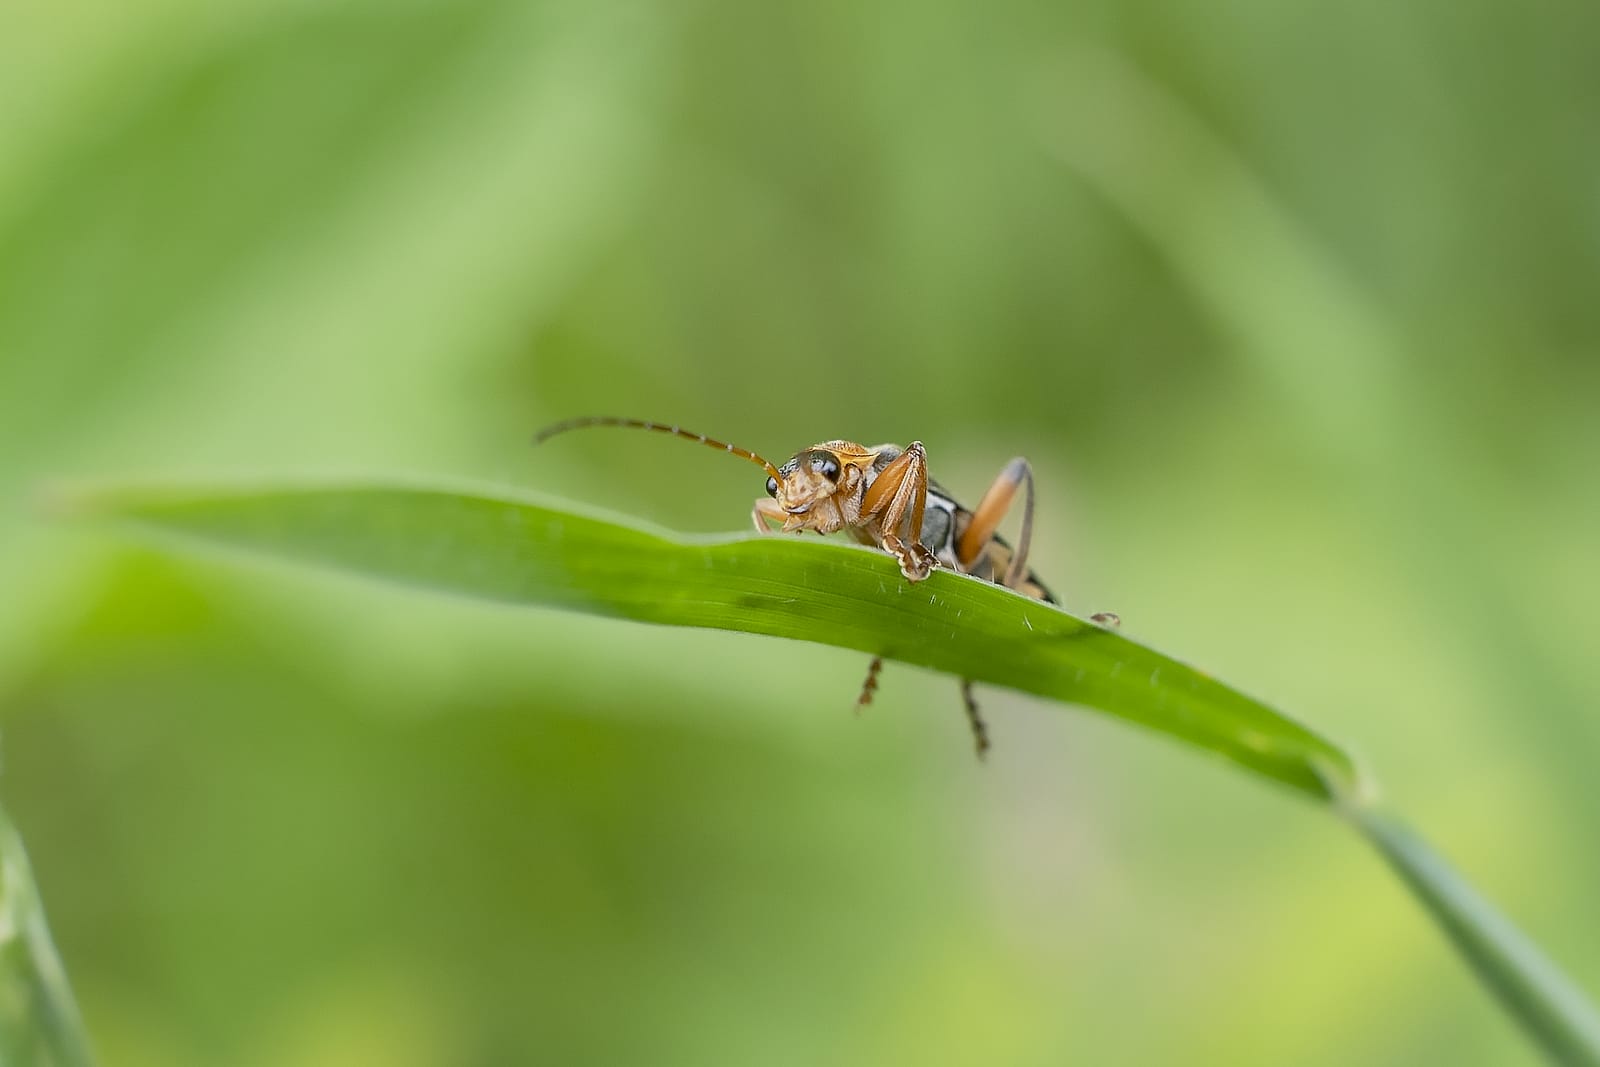
Soldier beetles are a beautiful colour. One of my favourite ways to photograph them is perched at the edge of a leaf or stem, like a sentry. However, here I was able to capture them mating, another first for me.
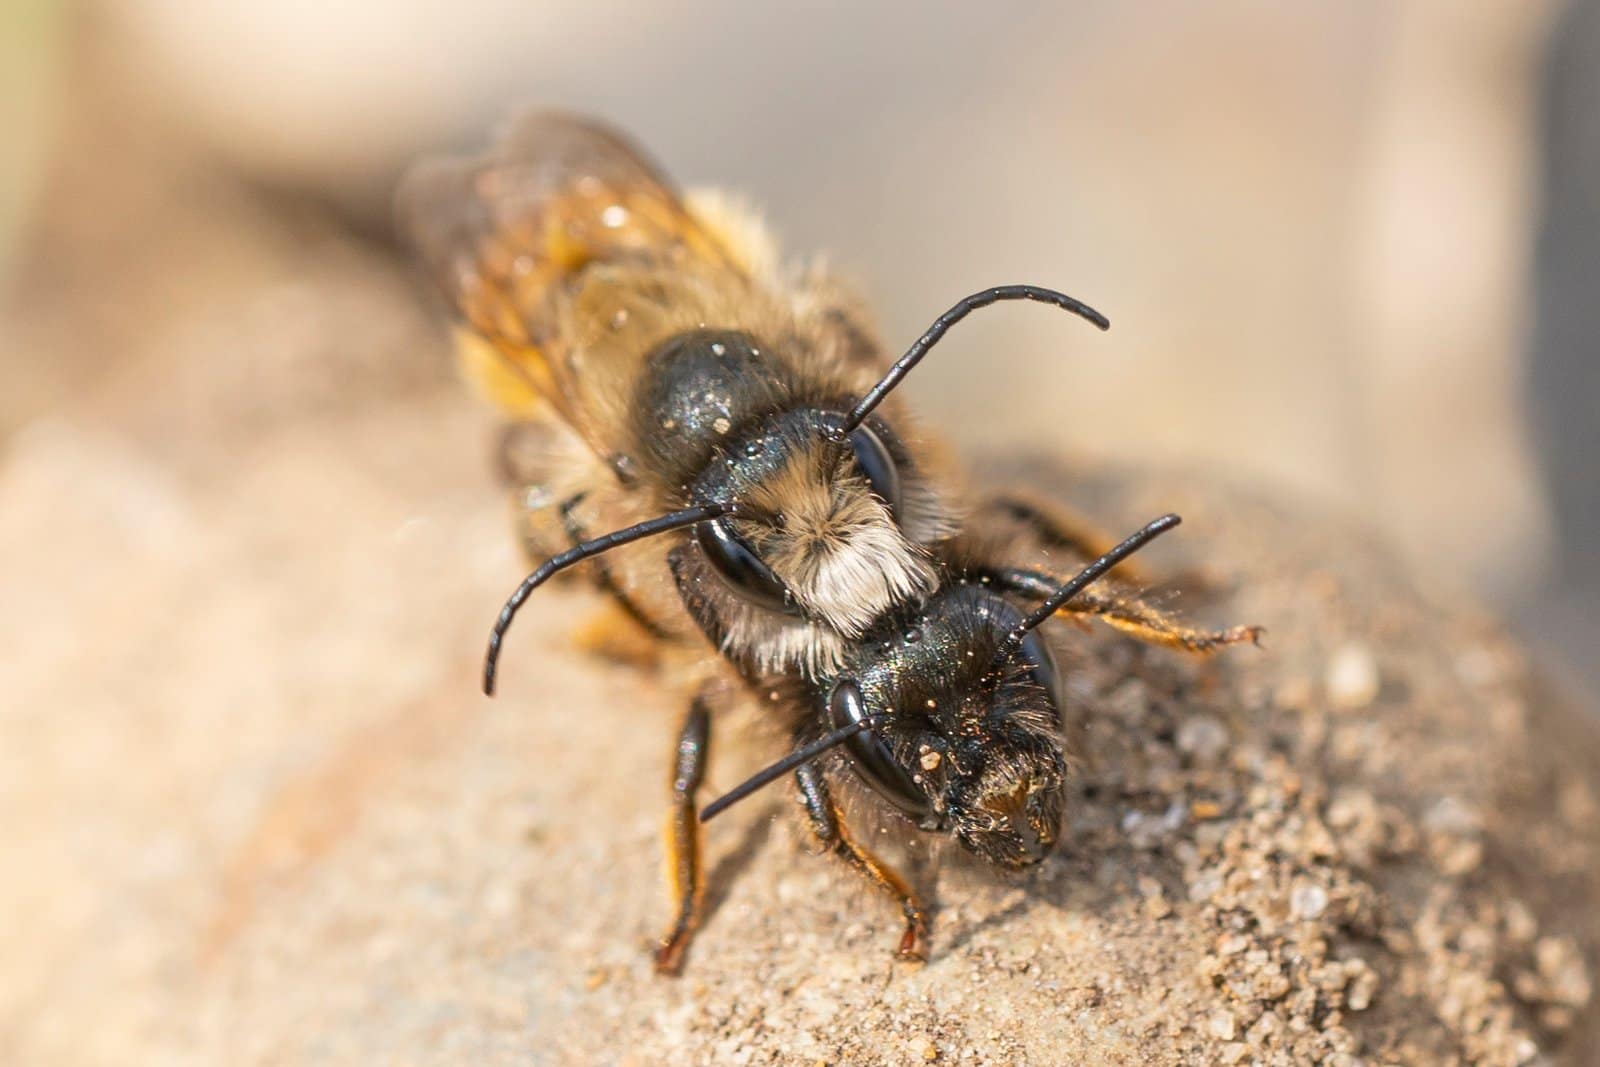
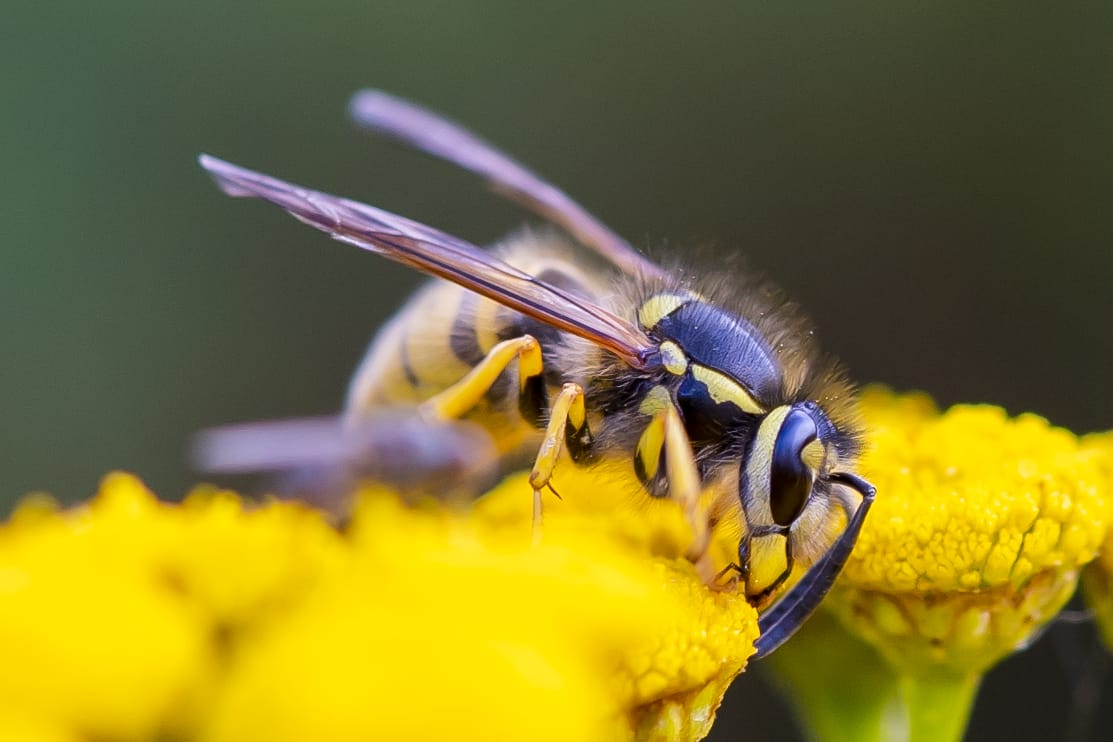
This post is full of firsts. The bees’ mating was crazy. I had not even thought about seeing this happen. For some reason, I always thought this just happened in the hive. I was so grateful to have witnessed this moment.
Photographing insects is an amazing way to really learn and appreciate the tiny world that exists around us. Just make sure you don’t interfere.
Close-up photography offers a captivating world filled with intricate details and hidden beauty. When it comes to capturing these mesmerising shots, the proper use of natural light can make all the difference. Light is a powerful tool that can enhance textures, reveal delicate patterns, and create stunning contrasts. In this blog post, we will explore the art of utilising natural light in close-up photography, providing you with tips and techniques to elevate your images to a new level.
Qualities of natural light
Natural light possesses a variety of characteristics, including intensity, direction, colour temperature, and softness. Familiarising yourself with these aspects will enable you to make informed decisions when capturing close-up subjects.
The timing of your close-up photography plays a significant role in the quality of natural light you’ll have at your disposal. The golden hours, which occur during the first and last hours of daylight, offer a soft, warm, and directional light that can add depth and a beautiful glow to your close-up subjects. Take advantage of this time frame to capture delicate details and create compelling shadows.
On overcast days, when the sky is covered with clouds, the diffused light creates a giant natural softbox. This soft, even lighting is ideal for close-up photography, as it minimises harsh shadows and provides a balanced illumination that brings out the textures and colours of your subject.
Controlling Light with Reflectors & diffusers
As you can see from the above two images, reflectors and diffusers are essential tools for manipulating natural light in close-up photography. They allow you to control the direction, intensity, and quality of the light falling on your subject. In the above, before and after, you can see how the use of a reflector has really opened up the shadows on the miniatures.
Reflectors bounce light back onto your subject.
Reflectors help to fill in shadows and add highlights. Soft light can be created using a white or silver reflector. This can help emphasise details and texture within your close-up images. Play around with different angles to get the best results.
Diffusers soften and spread the light.
Diffusers are great for reducing harsh shadows and creating a gentle, even illumination. They are particularly useful when photographing subjects with intricate details or delicate textures.
Embracing Shadows and Highlights
Dimension and depth are created in close-up photography using shadows and highlights. Shadows can reveal intricate patterns and contours, while highlights can bring out the subtle details and give your images a three-dimensional feel. Pay attention to the placement and direction of light to achieve the desired effect, and don’t be afraid to experiment with different lighting conditions to create unique and captivating close-up photographs.
Conclusion
Natural light has the power to transform your close-up photography. It can reveal the beauty and intricacy of your subjects. By understanding the qualities of natural light, timing your shoots, and employing tools like reflectors and diffusers, you can control and manipulate light to enhance textures, reveal hidden details, and create captivating contrasts. Remember that each subject and lighting condition is unique, so practice and explore different techniques to discover your own signature style. With the right approach, natural light will become your greatest ally in capturing stunning close-up photographs.
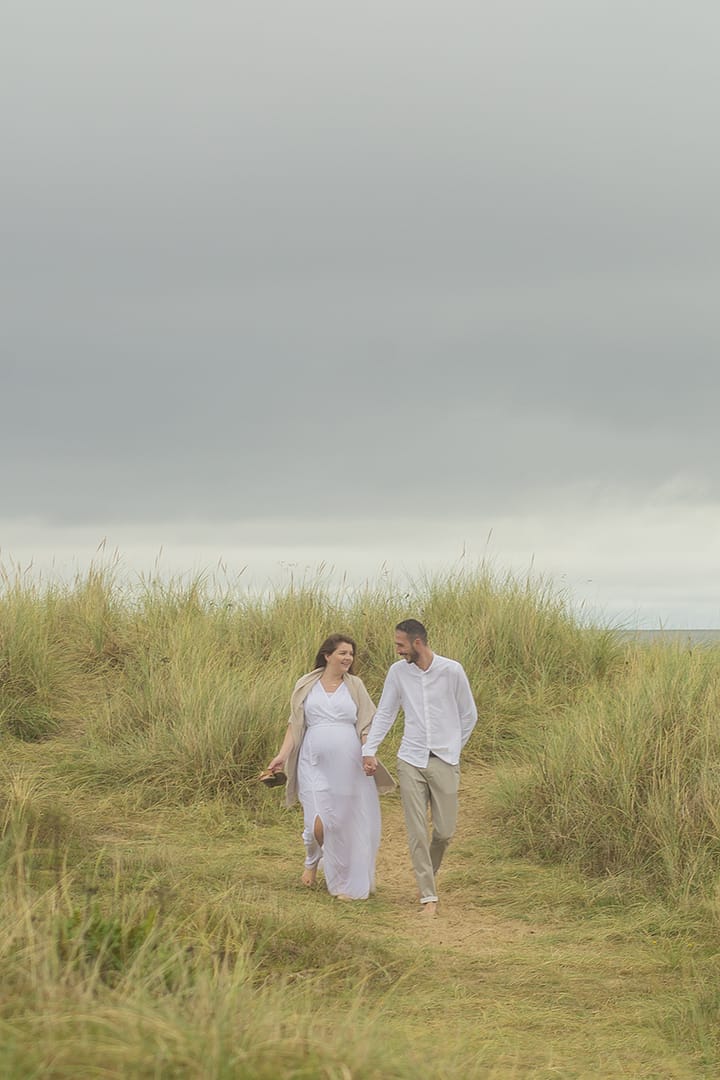
Pregnancy photography is a wonderful thing. Capturing this beautiful and transformative time in a person’s life. Add in the power of natural light and the results are stunning. In this blog post, we will explore tips and techniques for photographing pregnancy in an outdoor setting, allowing you to document this miraculous time with grace and artistry.
The power of the golden hour
The golden hour, which occurs during the first hour after sunrise or the last hour before sunset, offers the most enchanting light for outdoor photography. The soft, warm tones and gentle rays of sunlight during this time create a flattering and beautiful atmosphere. Your pregnant subject will glow during the golden hour.
location
Location can change the whole dynamic of an image. Beaches, meadows and gardens are perfect to compliment pregnancy. If your location has a gentle stream or flowering tree, these can add a beautiful depth to your images. Find a scenic location where you are less likely to be disturbed. This allows your subject to relax and form a connection with their surroundings, giving you depth to your photographs that compliment the beauty of pregnancy.
Why not ask your subject if there is a location that holds a special place in their heart? Somewhere they feel comfortable or drawn to.
weather & Season
When selecting your location, pay attention to the weather. No one wants photographs on a windy beach.
The season is also important. Is it Spring with its beautiful blooming flowers and vibrant colours? The perfect place to do a shoot would be a meadow.
Is it autumn with its colourful leaves and warm light? Then a woodland would make for a serene location to shoot in.
All these factors are important for creating the right atmosphere for wonderful pregnancy portraits.
Dress & pose
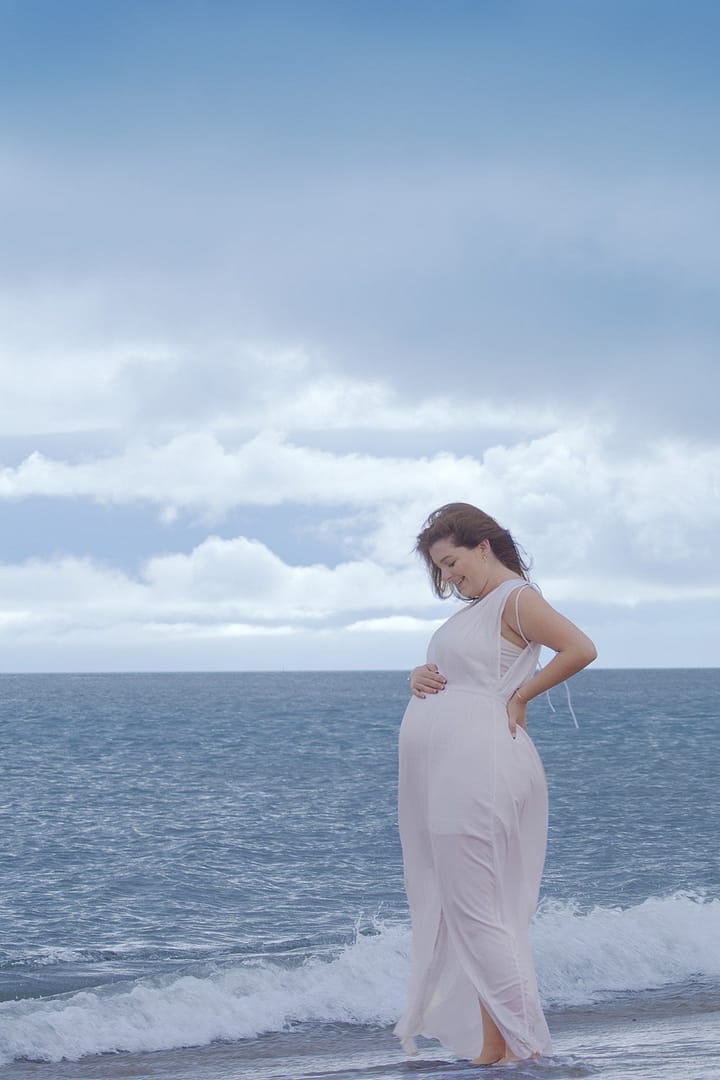
What your subject is wearing can make a world of difference to how your pregnancy photography turns out. Encourage your pregnant subject to wear something that they feel comfortable and confident in. A flowing dress can accentuate their bump while creating a sense of elegance and grace. Ensure they consider neutral tones to not overpower the photograph. Solid colours or simple patterns that will not distract from the focus of the image. Try to move them towards colours that will complement their surroundings.
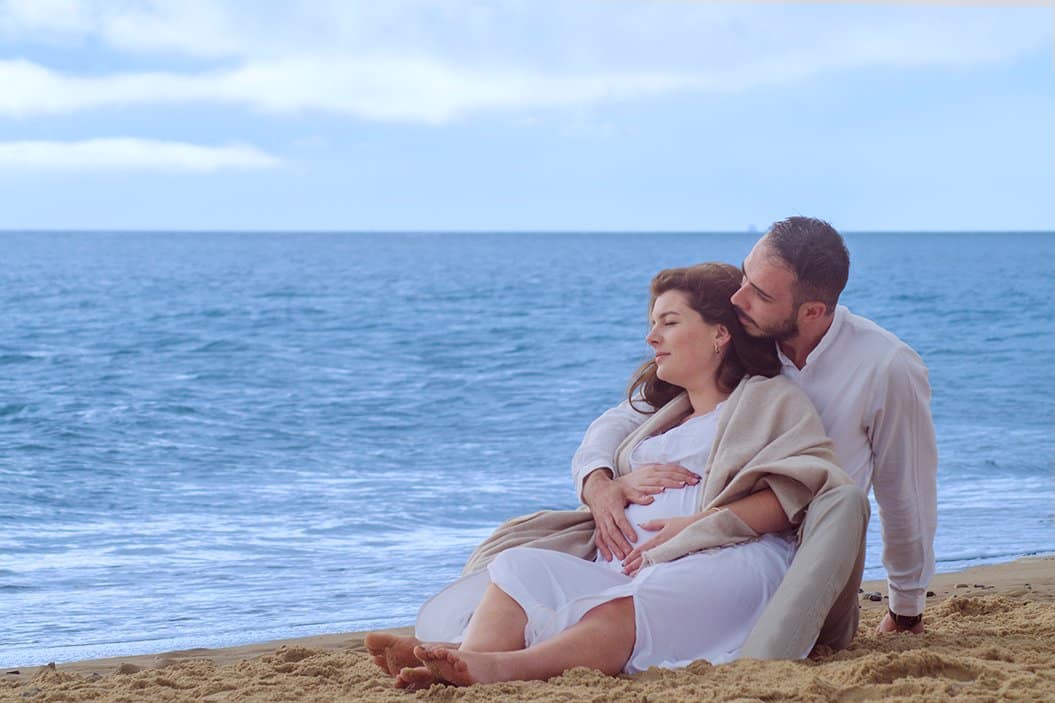
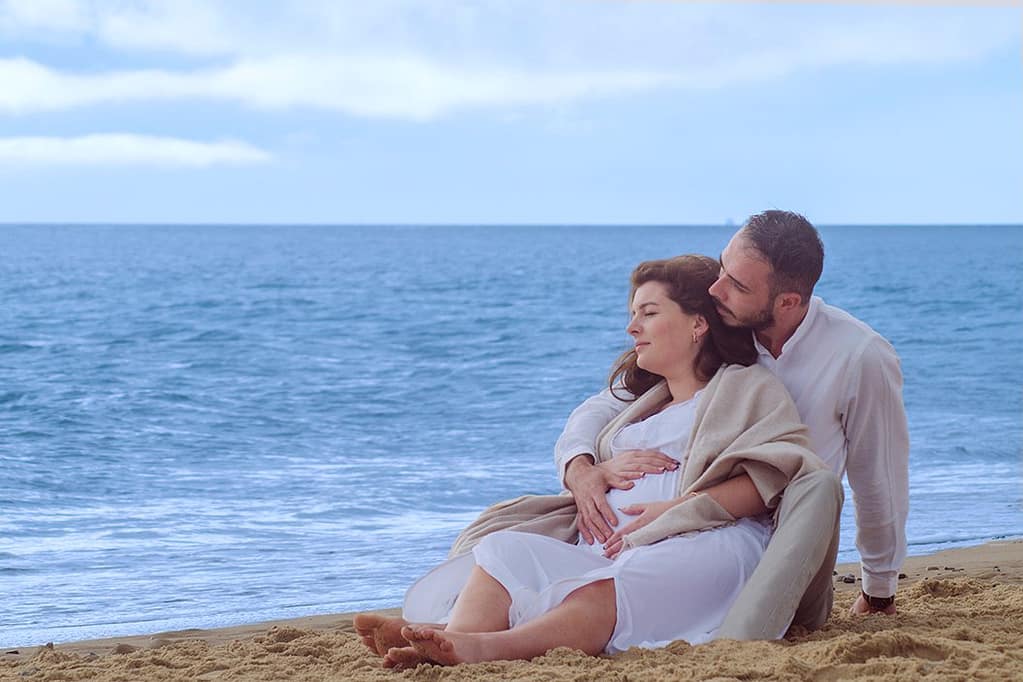
At the beach, white dresses and linen work perfectly with the tones of the beach and sea.
In the woodland or in the countryside, choose earthy colours, or blues and neutral tones.
Remember to check for phones in pockets or bent collars
When posing, encourage them to only use gentle movements, like walking, swaying or embracing their belly. These will add a dynamic to the photograph that can express the joy and anticipation of motherhood. Get them to embrace nature. To sit amongst the flowers or against a tree. To step into the stream or ocean, and relax as the water washes over them. Try to help them forget they are being photographed.
Emotion & connection
Involve partners and other children in the session. Encourage gentle embraces, kisses on the belly, or moments of shared laughter. These interactions create heartfelt images that reflect the love and excitement surrounding the pregnancy.
Remember to ensure that all outfits complement each other and work in a way that signifies a connection within the family.
Ask the subject non-intrusive questions about their pregnancy. Get them to reflect on how they feel. Capture that authentic emotion.
Think about candid shots. Ask them to interact or walk as if you are not there. Get them to tell jokes or share stories and capture the emotions that they invoke.
Creating a comfortable and supportive environment will allow them to relax and be themselves, resulting in authentic and emotive photographs.
play with composition & contents
It is recommended that before your shoot, you as the photographer should venture to the location to get to know it. This way you can guide your subject to the right place without wasting any time, helping to calm any anxiety that they might have.
Try to embrace nature in your photographs. Use it to frame your subject or image in a way that draws focus where intended. You can use pathways or streams to also guide your viewer’s eye.
Experiment with depth of field to create a separation between subject and background. Create a shallow depth of field to create a beautiful blurred background and a subject that stands out.
Vary your angles and perspectives. Don’t just shoot from in front of your subject. Get down low to capture the grandeur of the bump. Capture a larger scene to give a sense of scale to the surroundings.
natural light
Use natural light to your advantage during your pregnancy photography. Find where it interacts with the surroundings. Does it filter beautifully through the trees, dappling your pregnant subject and the ground? Does it cast a warm glow on them, or a soft light from an overcast day? Natural light can be used to create ambience and mood in an image, play around until you find something that feels right.
Post-Processing and Editing
Once you’ve captured a beautiful collection of images, post-processing can enhance their impact. Consider using soft and warm tones to complement the natural and serene feel of the photos. Adjust the exposure, contrast, and colour balance to achieve a harmonious and natural look.
Ensure that you do not over-edit. Keep the look as natural as possible. Crop or rotate to ensure that the composition of your images is on point. Straighten that horizon, correct those leading lines and ensure an even balance of empty space.
Conclusion
Whether you are a professional photographer or a partner wanting to capture the beauty of your partner’s pregnancy, natural light photography offers so much to an image. Helping you to capture the beauty, grace and emotions of pregnancy.
Ever since I picked up a camera, I have wanted to capture the tiny world around us. Getting into insect photography meant that I could get thoroughly lost in the beauty of a walk through fields, a garden or a nature reserve. Photographing insects in their natural habitat is such a rewarding experience.
The more you disappear into insect photography, the more you notice. The slightest movement in your peripheral vision signals a possible photo opportunity.
In this blog post, we will look at photographing insects in natural light and handheld. We’ll explore techniques, camera settings, and other vital information to help you capture sharp and stunning images of these fascinating creatures.
Preparation and Equipment
I started my insect photography with a Sony A37 and a 30mm macro lens. It captured some stunning photographs for me. The only downside was that I had to get quite close to my subjects to get the picture. This meant that a lot of the time, I spooked them and they flew away. Annoying, yes! But it never deterred me.
Here are a few starting points for your dive into insect photography.
Research: This is fairly important. It is not something I did, but it would definitely help you. Familiarise yourself with the insects that live around you. Find out when they mate, when they appear, where they are likely to appear and what time of day. Understanding their habits and preferred environments will increase your chances of encountering them.
Camera and Lens: If you are just starting out, I would recommend renting a DSLR or mirrorless camera with manual control options. As well as a macro lens with a focal length of 90mm to 150mm. These are perfect for sitting back at a comfortable distance while achieving a magnified view.
I now shoot with a Sony A7 III and a Sony 90mm G Master lens. The control you have over the lens’s focus is incredible.
Insect-Friendly Clothing: Oh man, this one is important. Do not go out on an insect hunt wearing bright colours. You may attract insects, but not to photograph. Wear neutral-coloured clothing to blend into the environment.
Lighting
This post is all about utilising natural light. I do a lot of my insect photography in natural light. Here are a few tips for photographing insects in natural light.
Golden Hours: The hours after sunrise and before sunset offer soft, warm, and directional light. During these times, the angle of the sun creates interesting shadows and adds depth to your images. Insects are also more likely to be resting during this time, meaning that they are easier to shoot.
Diffused Light: Overcast days provide a natural diffuser, softening the light and reducing harsh shadows. This lighting condition is especially useful for capturing delicate details without excessive contrast. Again, the lack of direct sunlight means that insects might be less active and easier to photograph.
Backlighting: Experiment with backlighting to create unique effects. By positioning the insect between your camera and the light source, you can capture translucent wings, halos, and rim lighting.
Avoid Harsh Midday Sun: Direct overhead sunlight can create harsh shadows and wash out colours. If shooting during midday, seek out shaded areas or use diffusers to soften the light.
Camera Settings
Achieving sharp insect images requires careful attention to camera settings. Here are some key considerations:
Aperture: Selecting the appropriate aperture is crucial for achieving sharp focus. Choosing a small aperture (high f-number) like f/11 to f/16 increases the depth of field and ensures more of the subject is in focus. Choosing a large aperture (low f-number) like f2.8 can help the insect stand out from its background while creating a beautiful bokeh effect.
Shutter Speed: Insects are often in constant motion, making a fast shutter speed essential to freeze their movement and capture sharp details. Aim for a minimum shutter speed of 1/250th of a second or faster. Increase the shutter speed as necessary to compensate for faster-moving insects.
ISO: We want to maintain as much image quality as possible. This means that it is best to start with a low ISO setting, such as 100 or 200, and increase it gradually if needed to maintain a fast enough shutter speed.
Autofocus and Focus Modes: Single-point autofocus helps ensure the part of the image you want sharp stays sharp. You can manually select a point, such as the eyes, to focus on. Alternatively, consider using manual focus for greater control over focus accuracy. I sometimes use continuous focus if the insect is one that rarely stays still. This means that I can keep it in focus as I shoot.
Burst Mode: Insects can be quite elusive. You might want to try your camera’s burst mode to capture those quick movements while keeping them sharp.
Back button focus: Usually, you press the shutter halfway to focus the image. Pressing it all the way takes the picture. Well, the back button focus gives the focus to another button. It can help ensure that the camera’s autofocus doesn’t change your focus choices every time you press the shutter. It also means that you can have the benefits of continuous focus and single focus in one go.
Composition
Composition can make or break a photograph. The way the viewer sees the image and how their eyes move over it is important.
Rule of Thirds: Using the rule of thirds can help draw your viewer’s eye. Place the insect off-centre to create a captivating image.
Depth and Perspective: Avoid shooting the insect from above. This does not create an interesting photograph. You want to either get below the insect or eye level with it. This immerses you and your viewers into the insect’s world. Creating a different perspective of the insect than is usually seen.
Conclusion
Handheld photography of something so small can be hard. Add on doing it in natural light, and you have an interesting learning curve. It not only requires an understanding of your equipment, but also patience and an artistic eye. The insect world is full of wonders that go unseen by most. So, be patient and settle in. Try not to disturb their world too much, and most of all, have fun. Expect a nettle or two, and possibly a sting/bite or three.
Photography is not just about picking up a camera and taking a picture. It is art, and mastering composition in photography can elevate your images. It is about capturing a moment in a way that brings it to life. Where it isn’t just an image it’s a feeling.
Composition is the backbone of photography. A well-composed photograph can captivate viewers, evoke emotions, and tell powerful stories. In this blog post, I will discuss the different parts of composition and how they can impact your image. Take your photography from a snapshot to a work of art.
Rule of Thirds
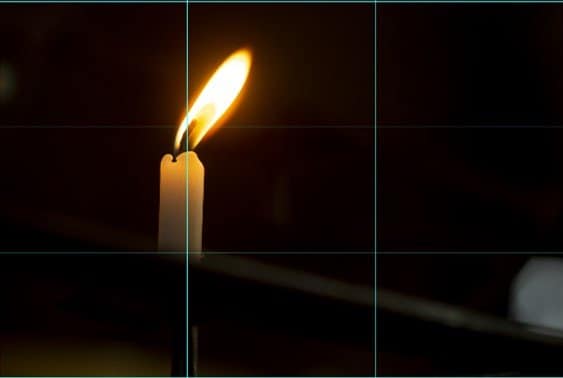
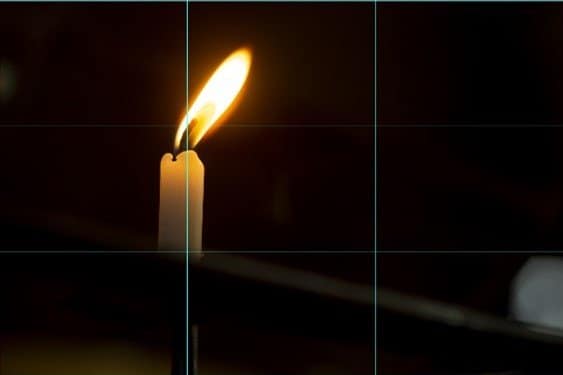
As a fundamental principle of composition, you need to know about the rule of thirds. This is where you divide the frame into a 3 by 3 grid. You will have two horizontal lines and two vertical ones. Utilising this method would be to place important parts of your image, either on the lines or where they intersect. In doing so you create a sense of balance. Drawing the viewer’s eye to the main subject of the image.
Leading Lines
The above image of the candle incorporates the use of leading lines. There is a line leading to the candle from the bottom right.
Leading lines are a powerful compositional element. They guide the viewer’s eye to the subject. Creating a sense of depth and movement within the image, when used correctly. You can use a road or a stream, branches on a tree or anything that guides your eye to the subject.
Framing
This is when you use an element within your image to frame the subject. It can add a sense of depth and visual interest to your image.
You can use windows, archways or even leaves to frame your subject. Anything that can add context and interest to your image.
Negative space
When talking about negative space, we are talking about the empty parts of our image. The bit that is not occupied by our subject or any other object of interest. Using negative space correctly can really emphasise your subject, as well as create emotion within the image. Again as you can see in the candle image, I used negative space to keep the attention on the candle. Evoking a sense of loneliness and the only light in the dark.
Breaking the Rules
Ok, so the rules are more like guidelines. Even though it is essential to understand and apply the “rules” of composition. It is also important to know that rules are made to be broken. You just have to know when and how to do it. Breaking the rules can evoke different emotions from your images. Creating a different composition from the norm and keeping the viewer fixed on your image.
Conclusion
Mastering composition in photography is important and requires some practice. Artistic license is also important. You want to transform your everyday images into works of art. Powerful pieces that grab attention, evoke emotion and last the test of time.
An important part of all of this is to make sure you have fun. Embrace your creativity and trust your instincts. With time and practice, you will become a master of your art. Someone will look at your work and it will leave a lasting impression in their mind.